Remote Virtual Session Instructions
Welcome to your instructional page for your upcoming Remote Virtual Headshot Session. I like to teach photography concepts as much as I enjoy applying them. I want you to get the most out of our session and walk away with concepts you can understand and apply for yourself.
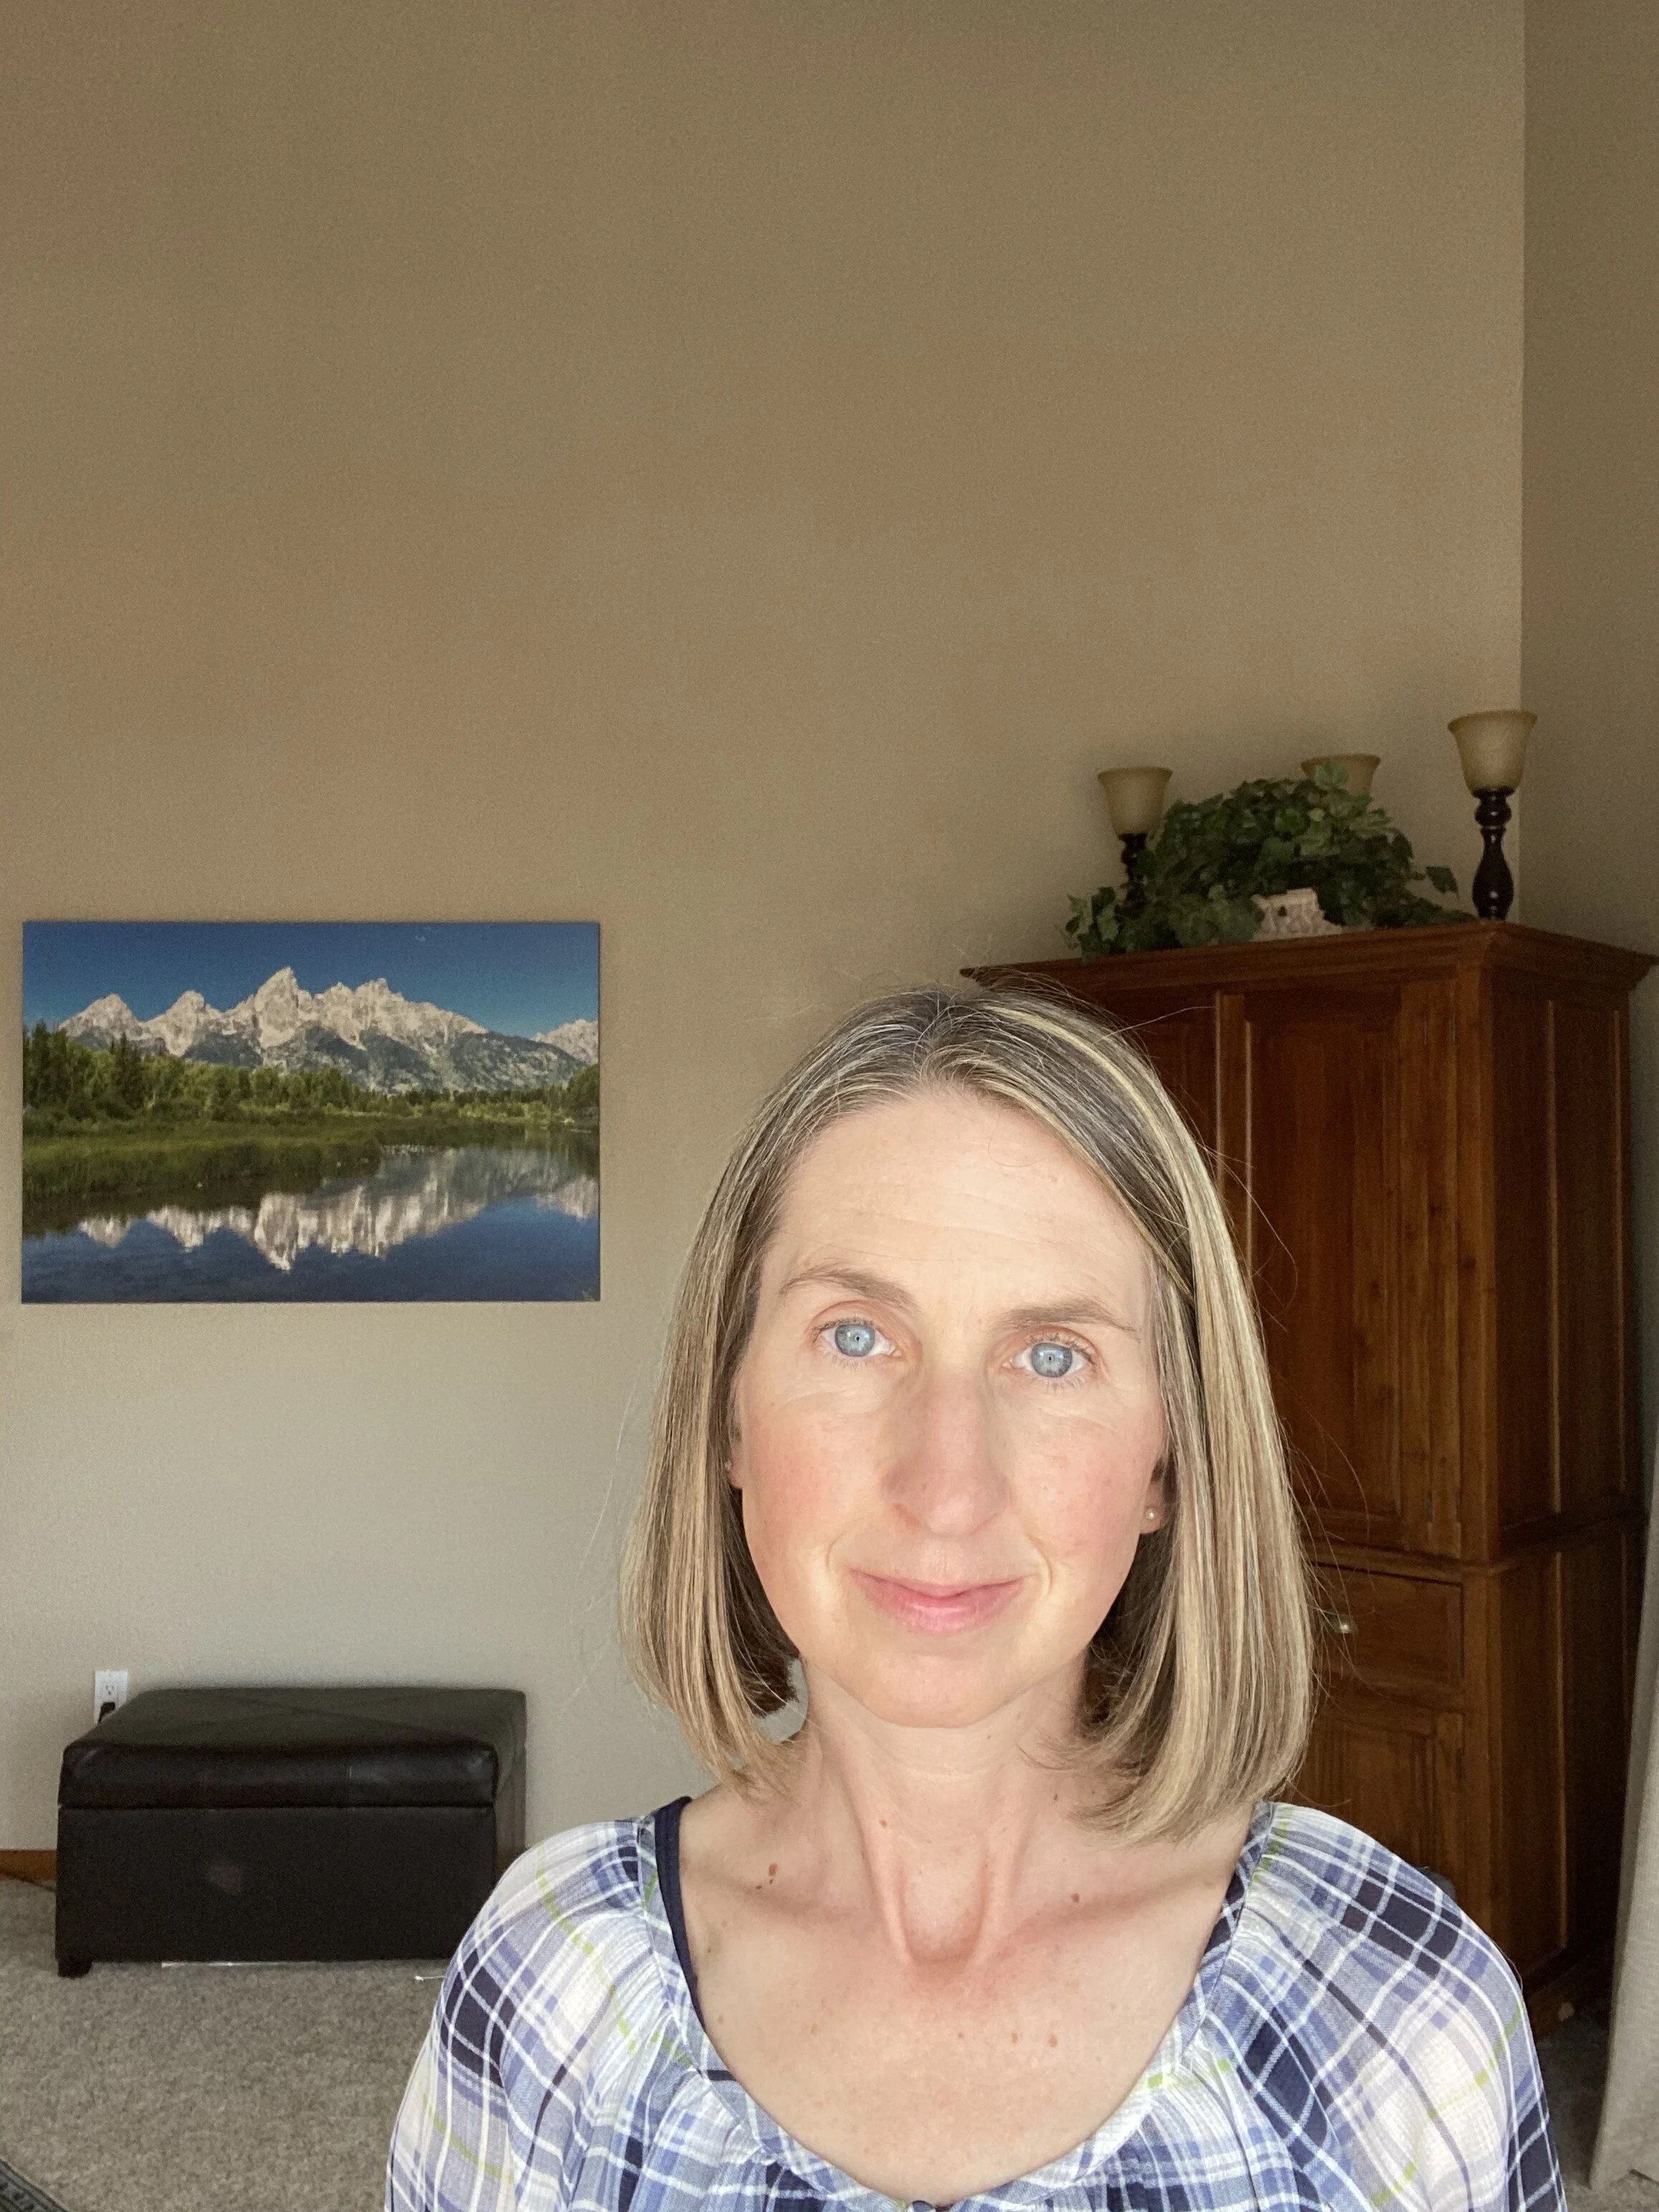
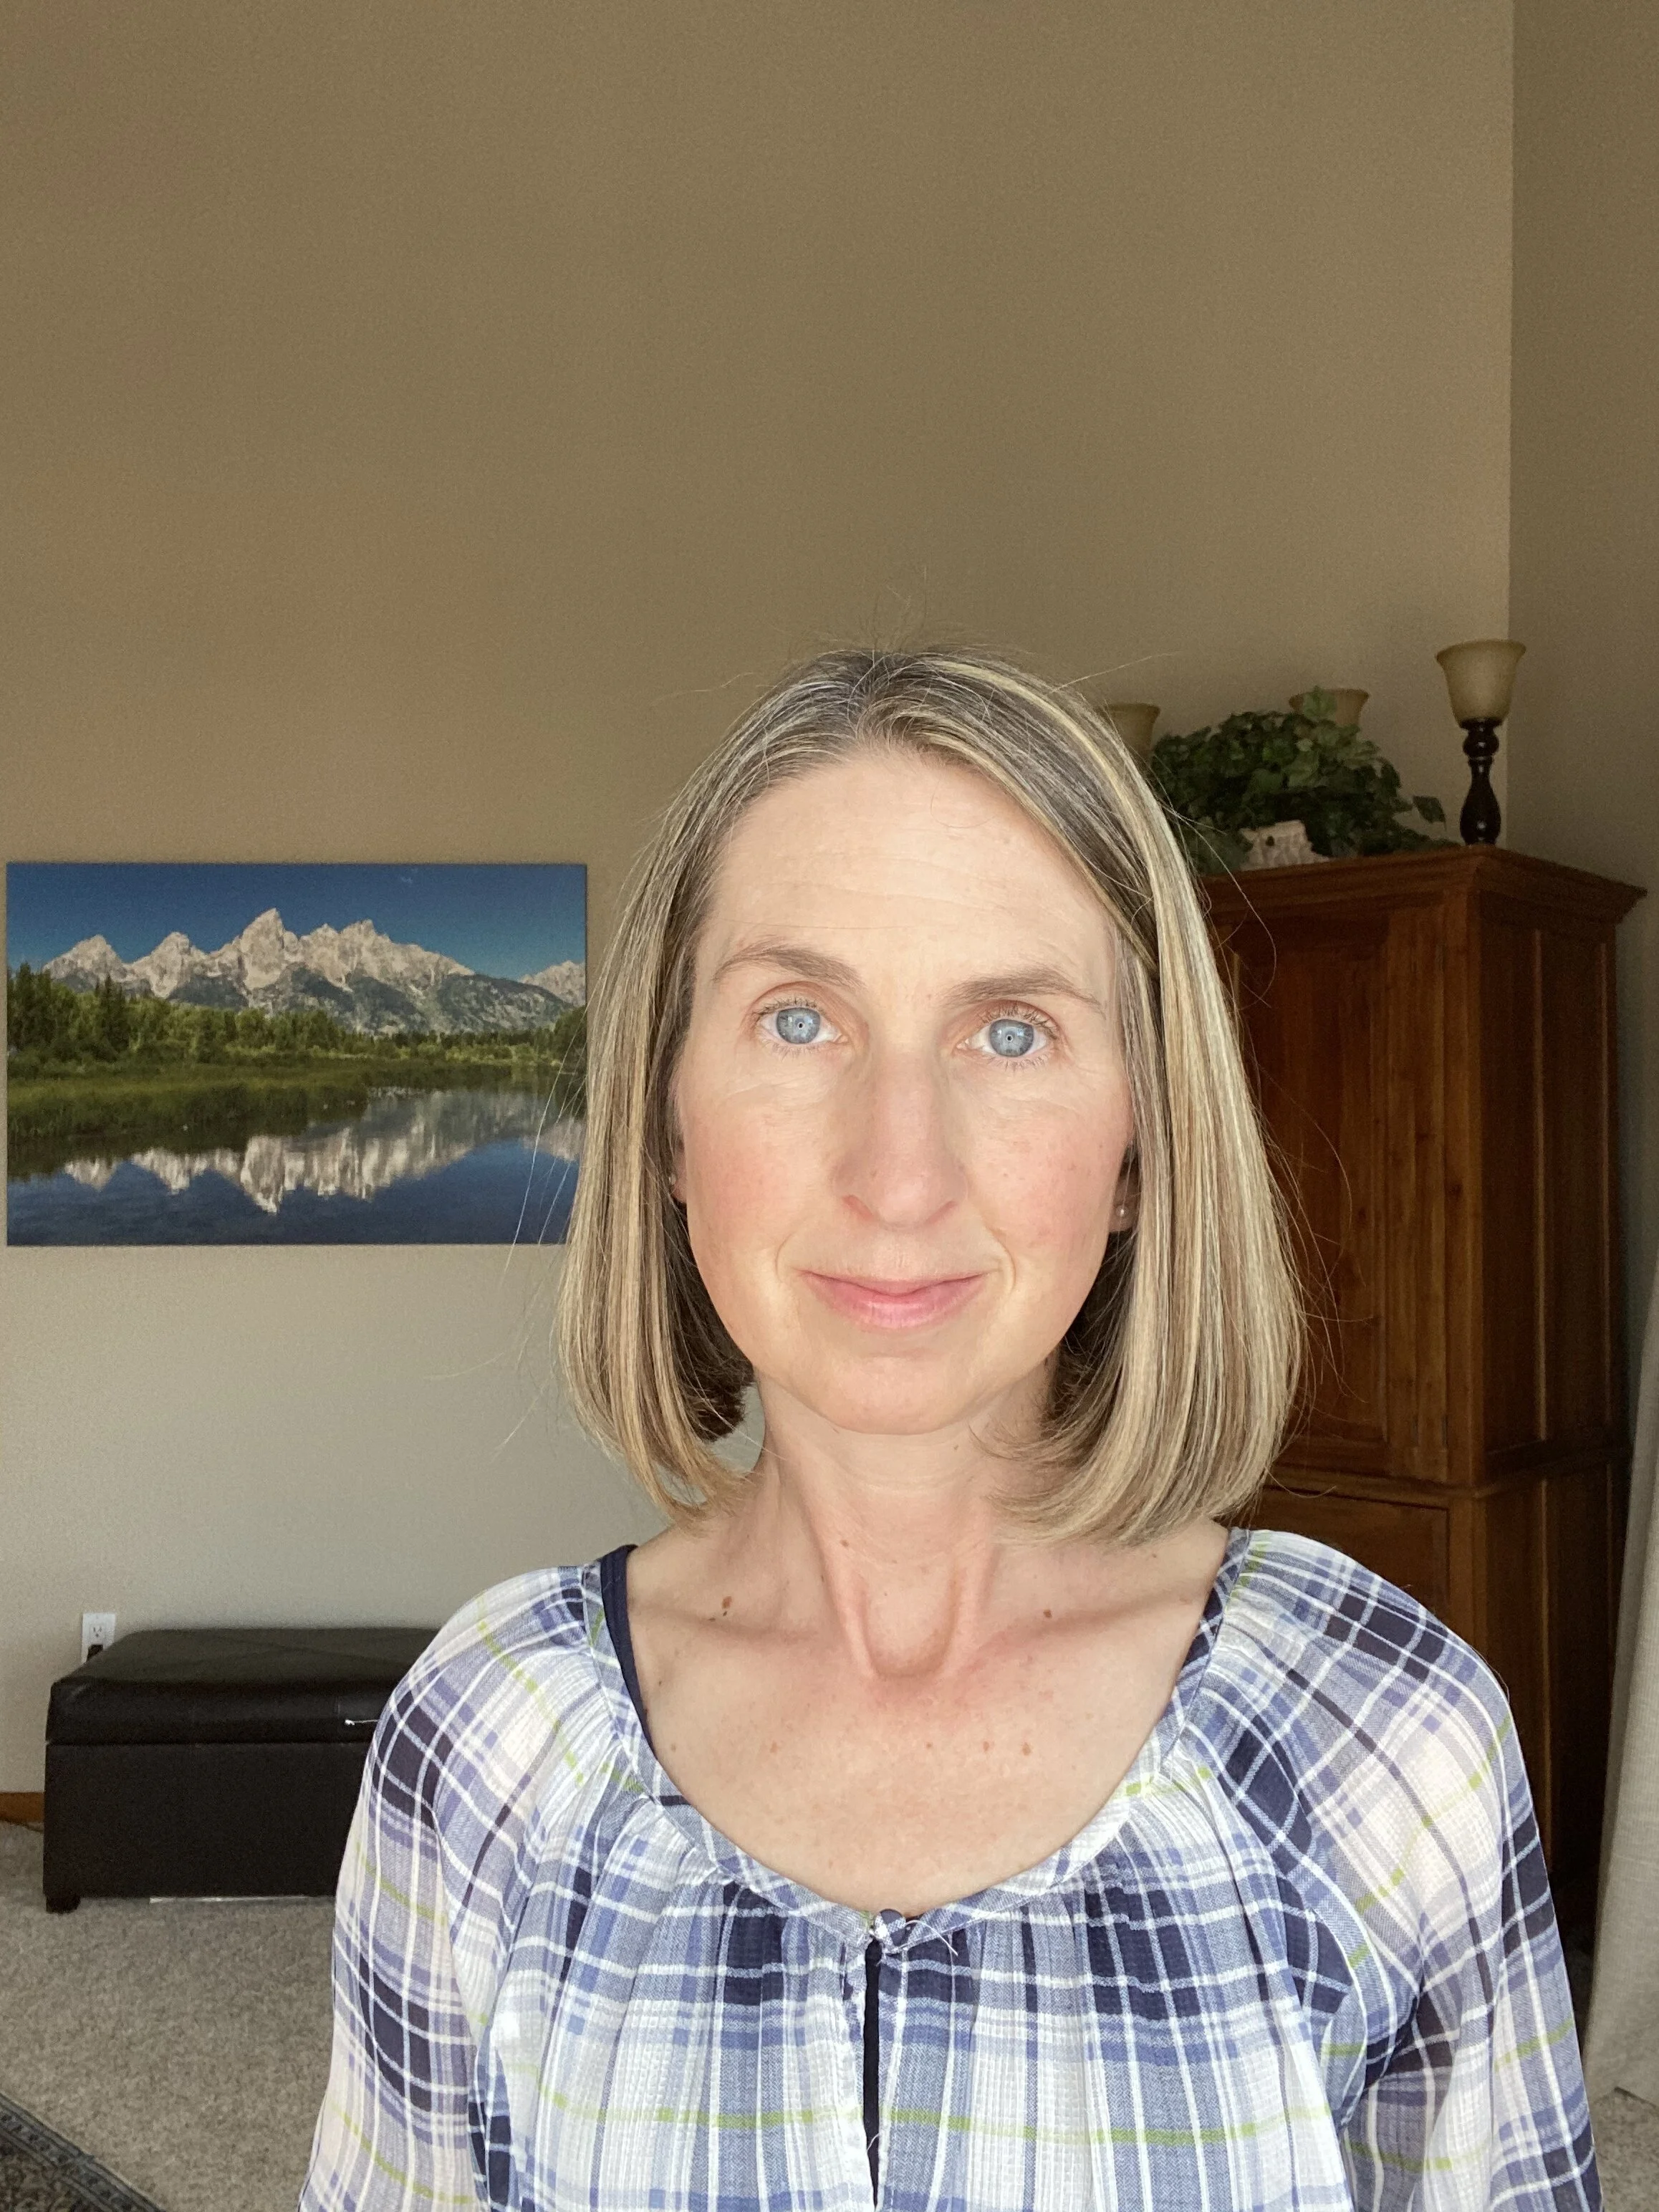
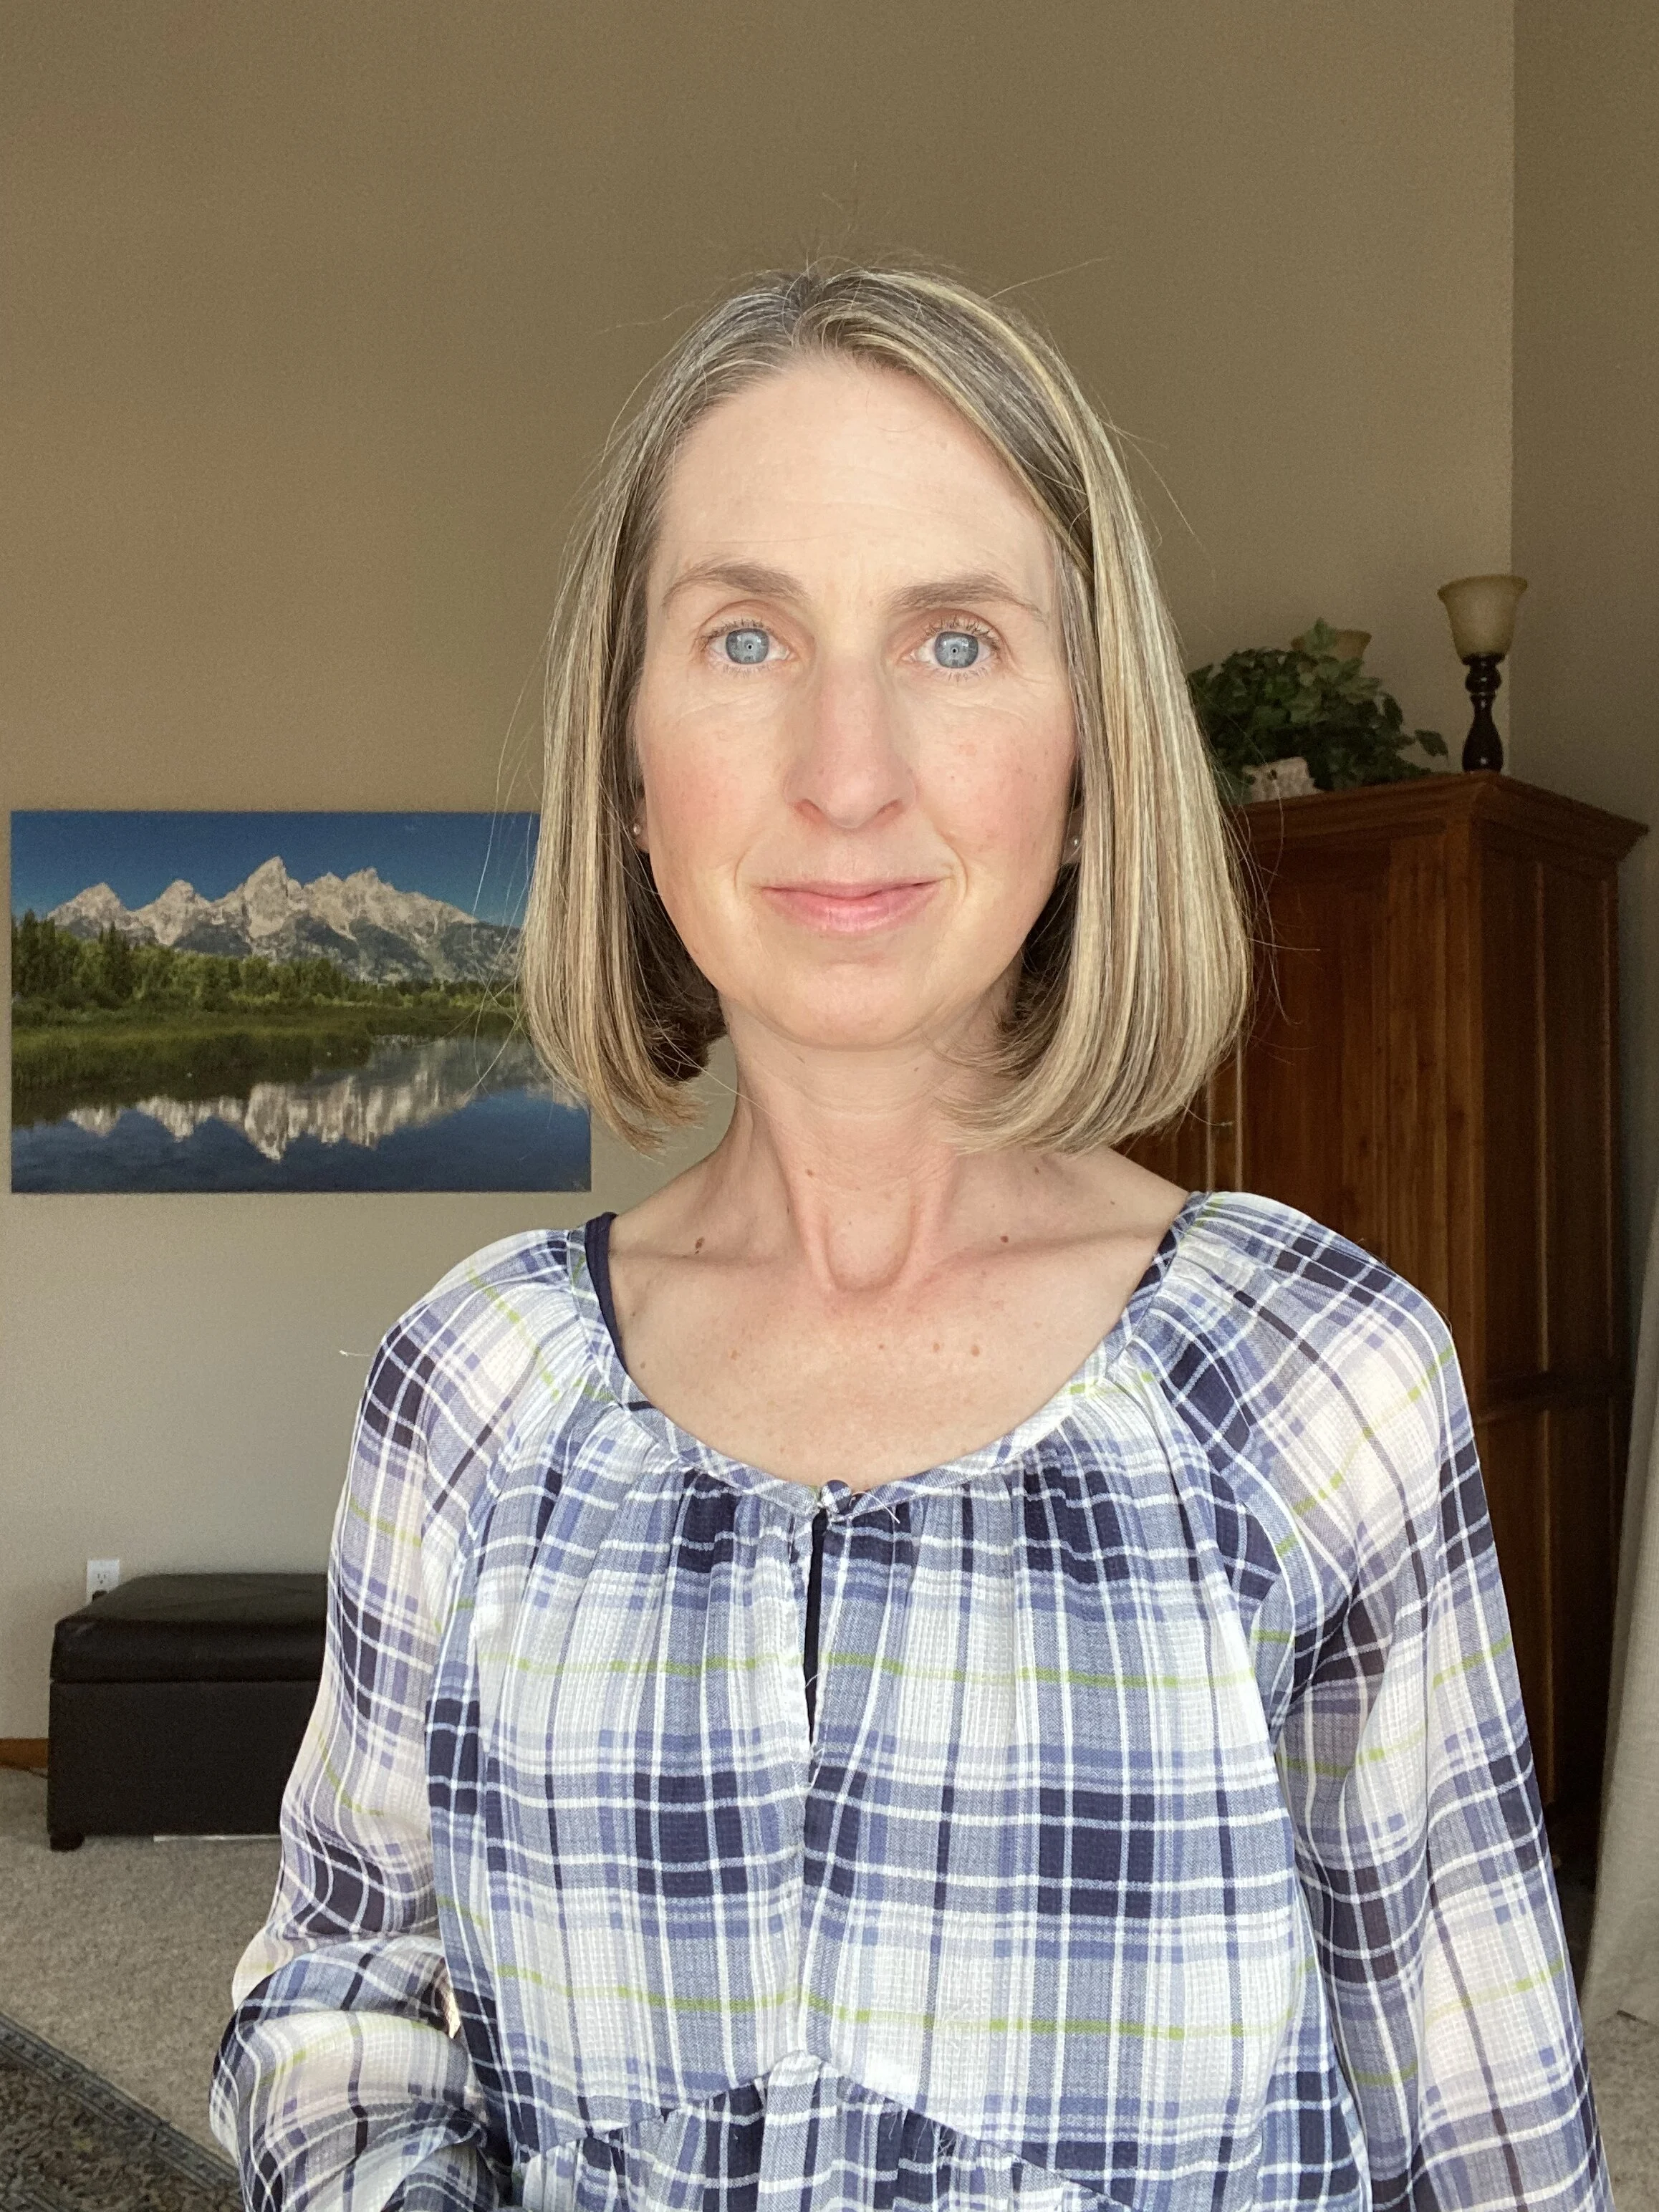
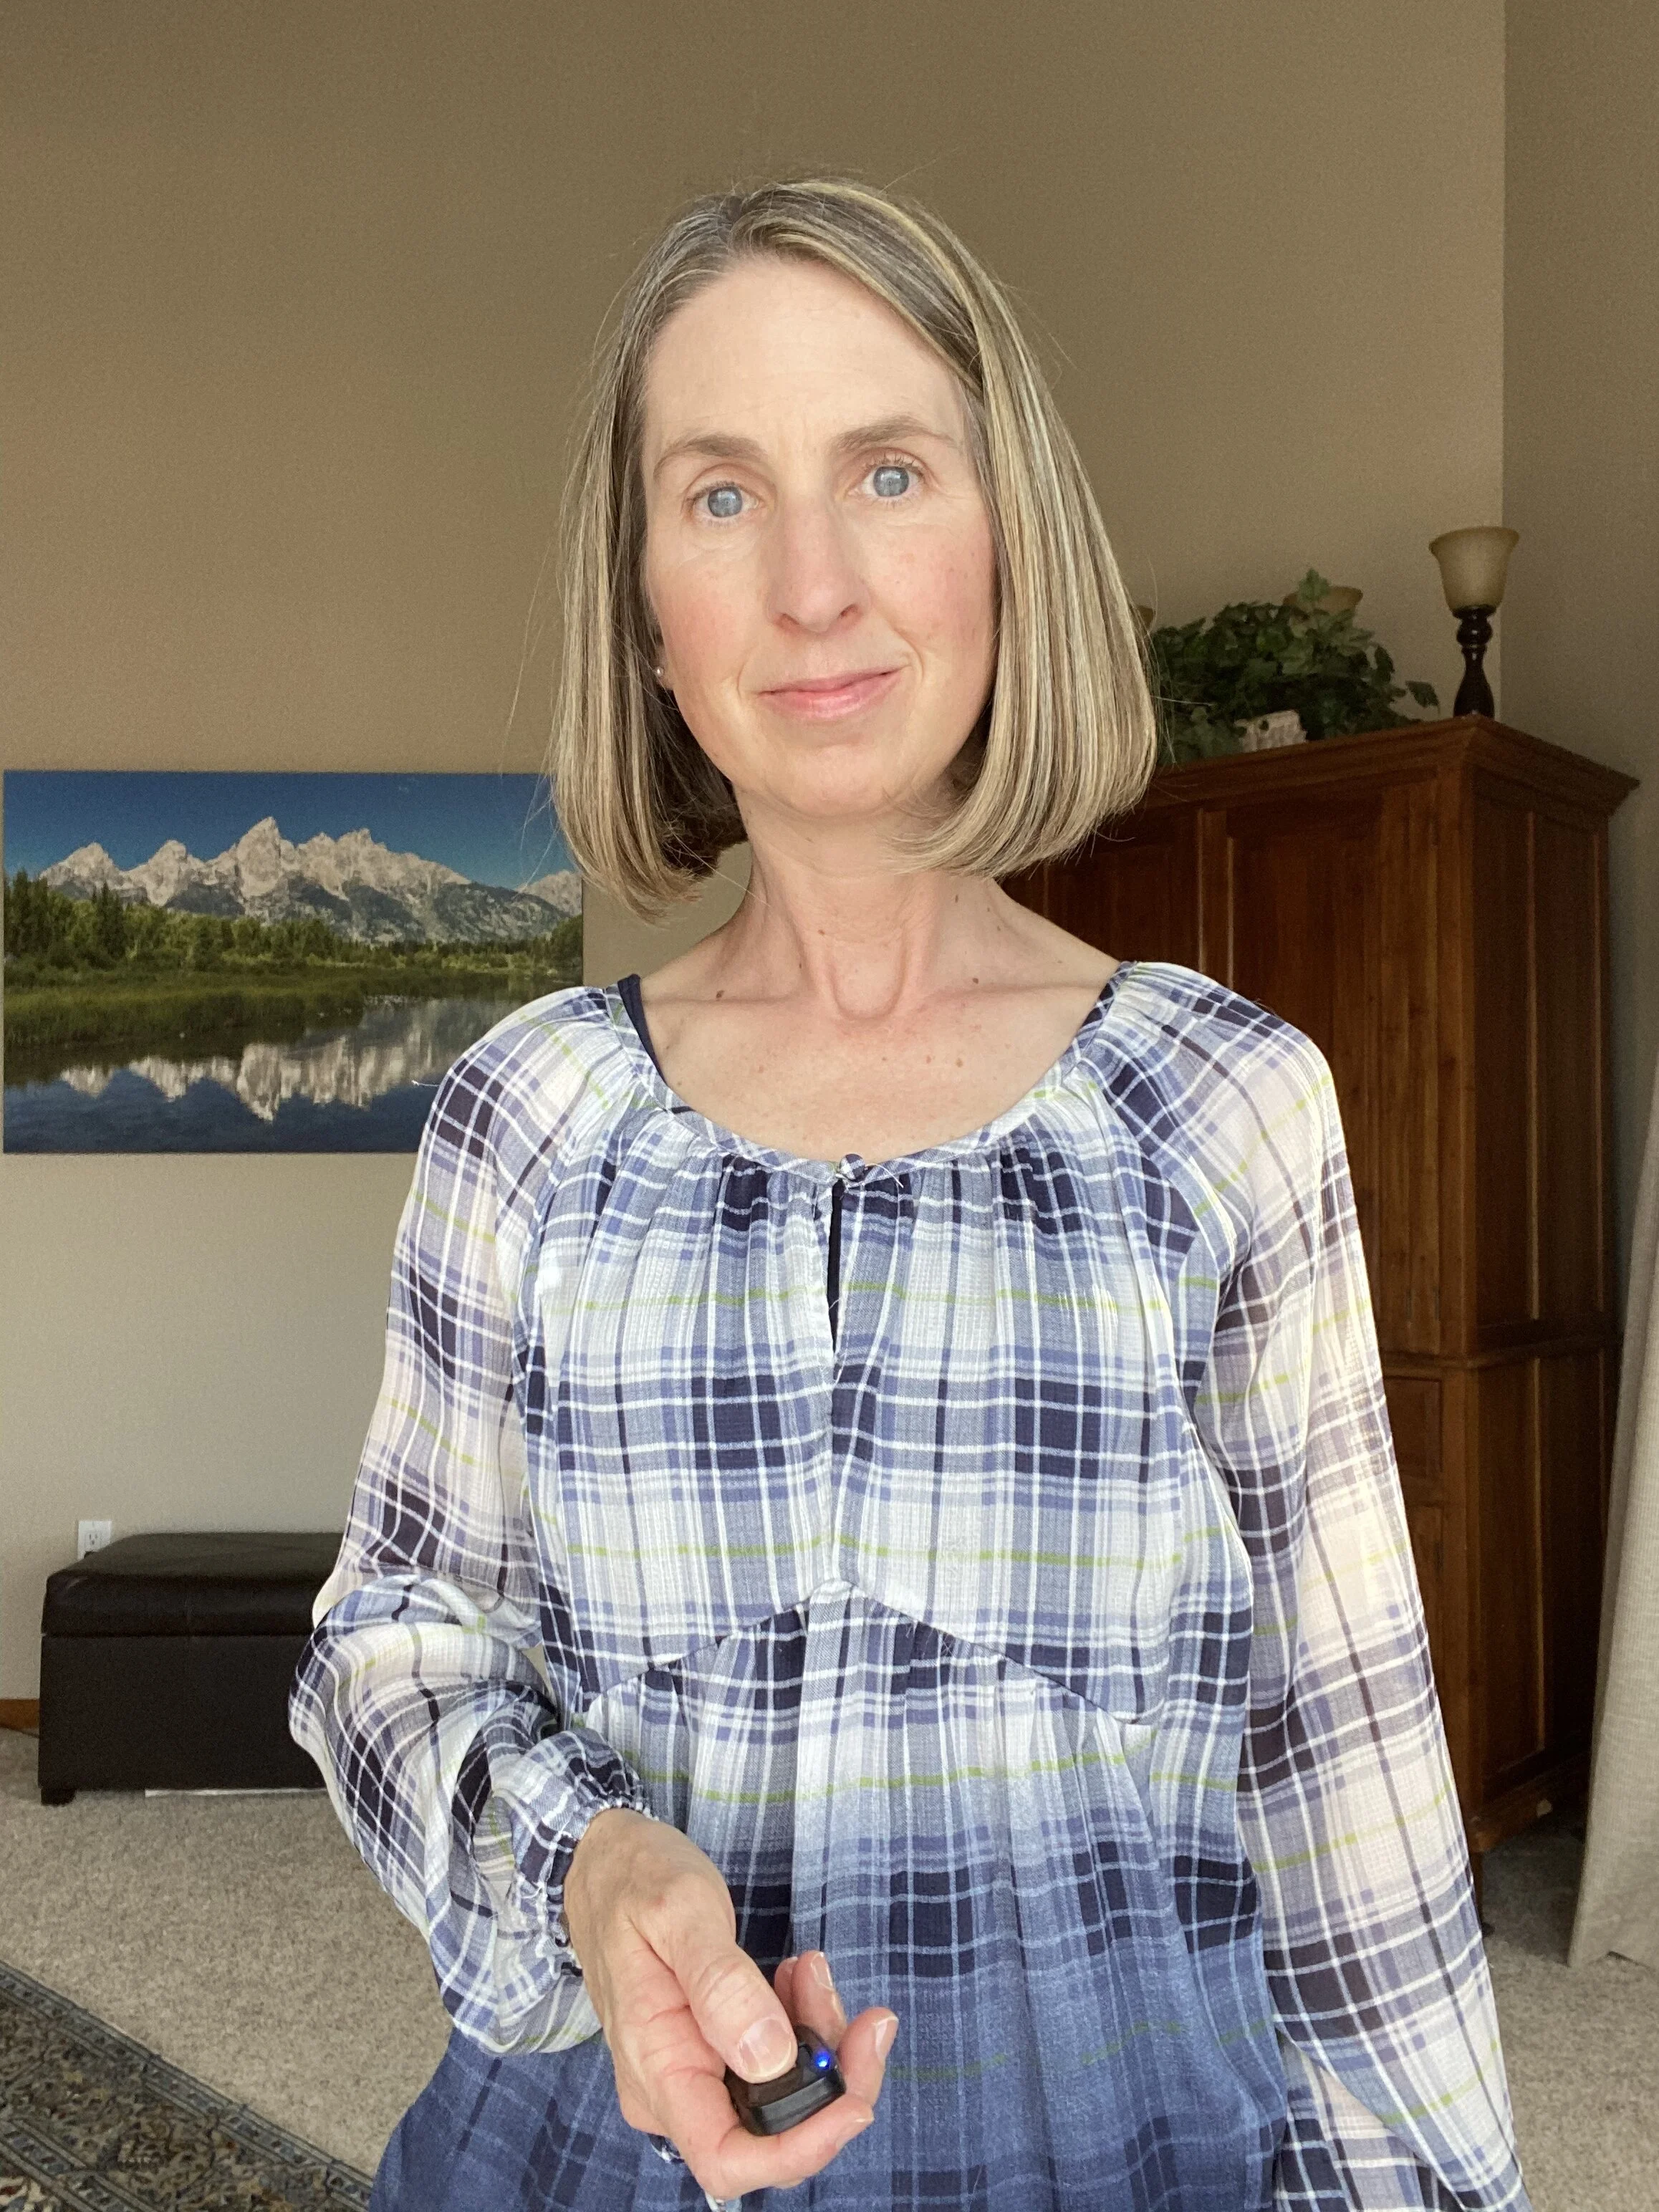
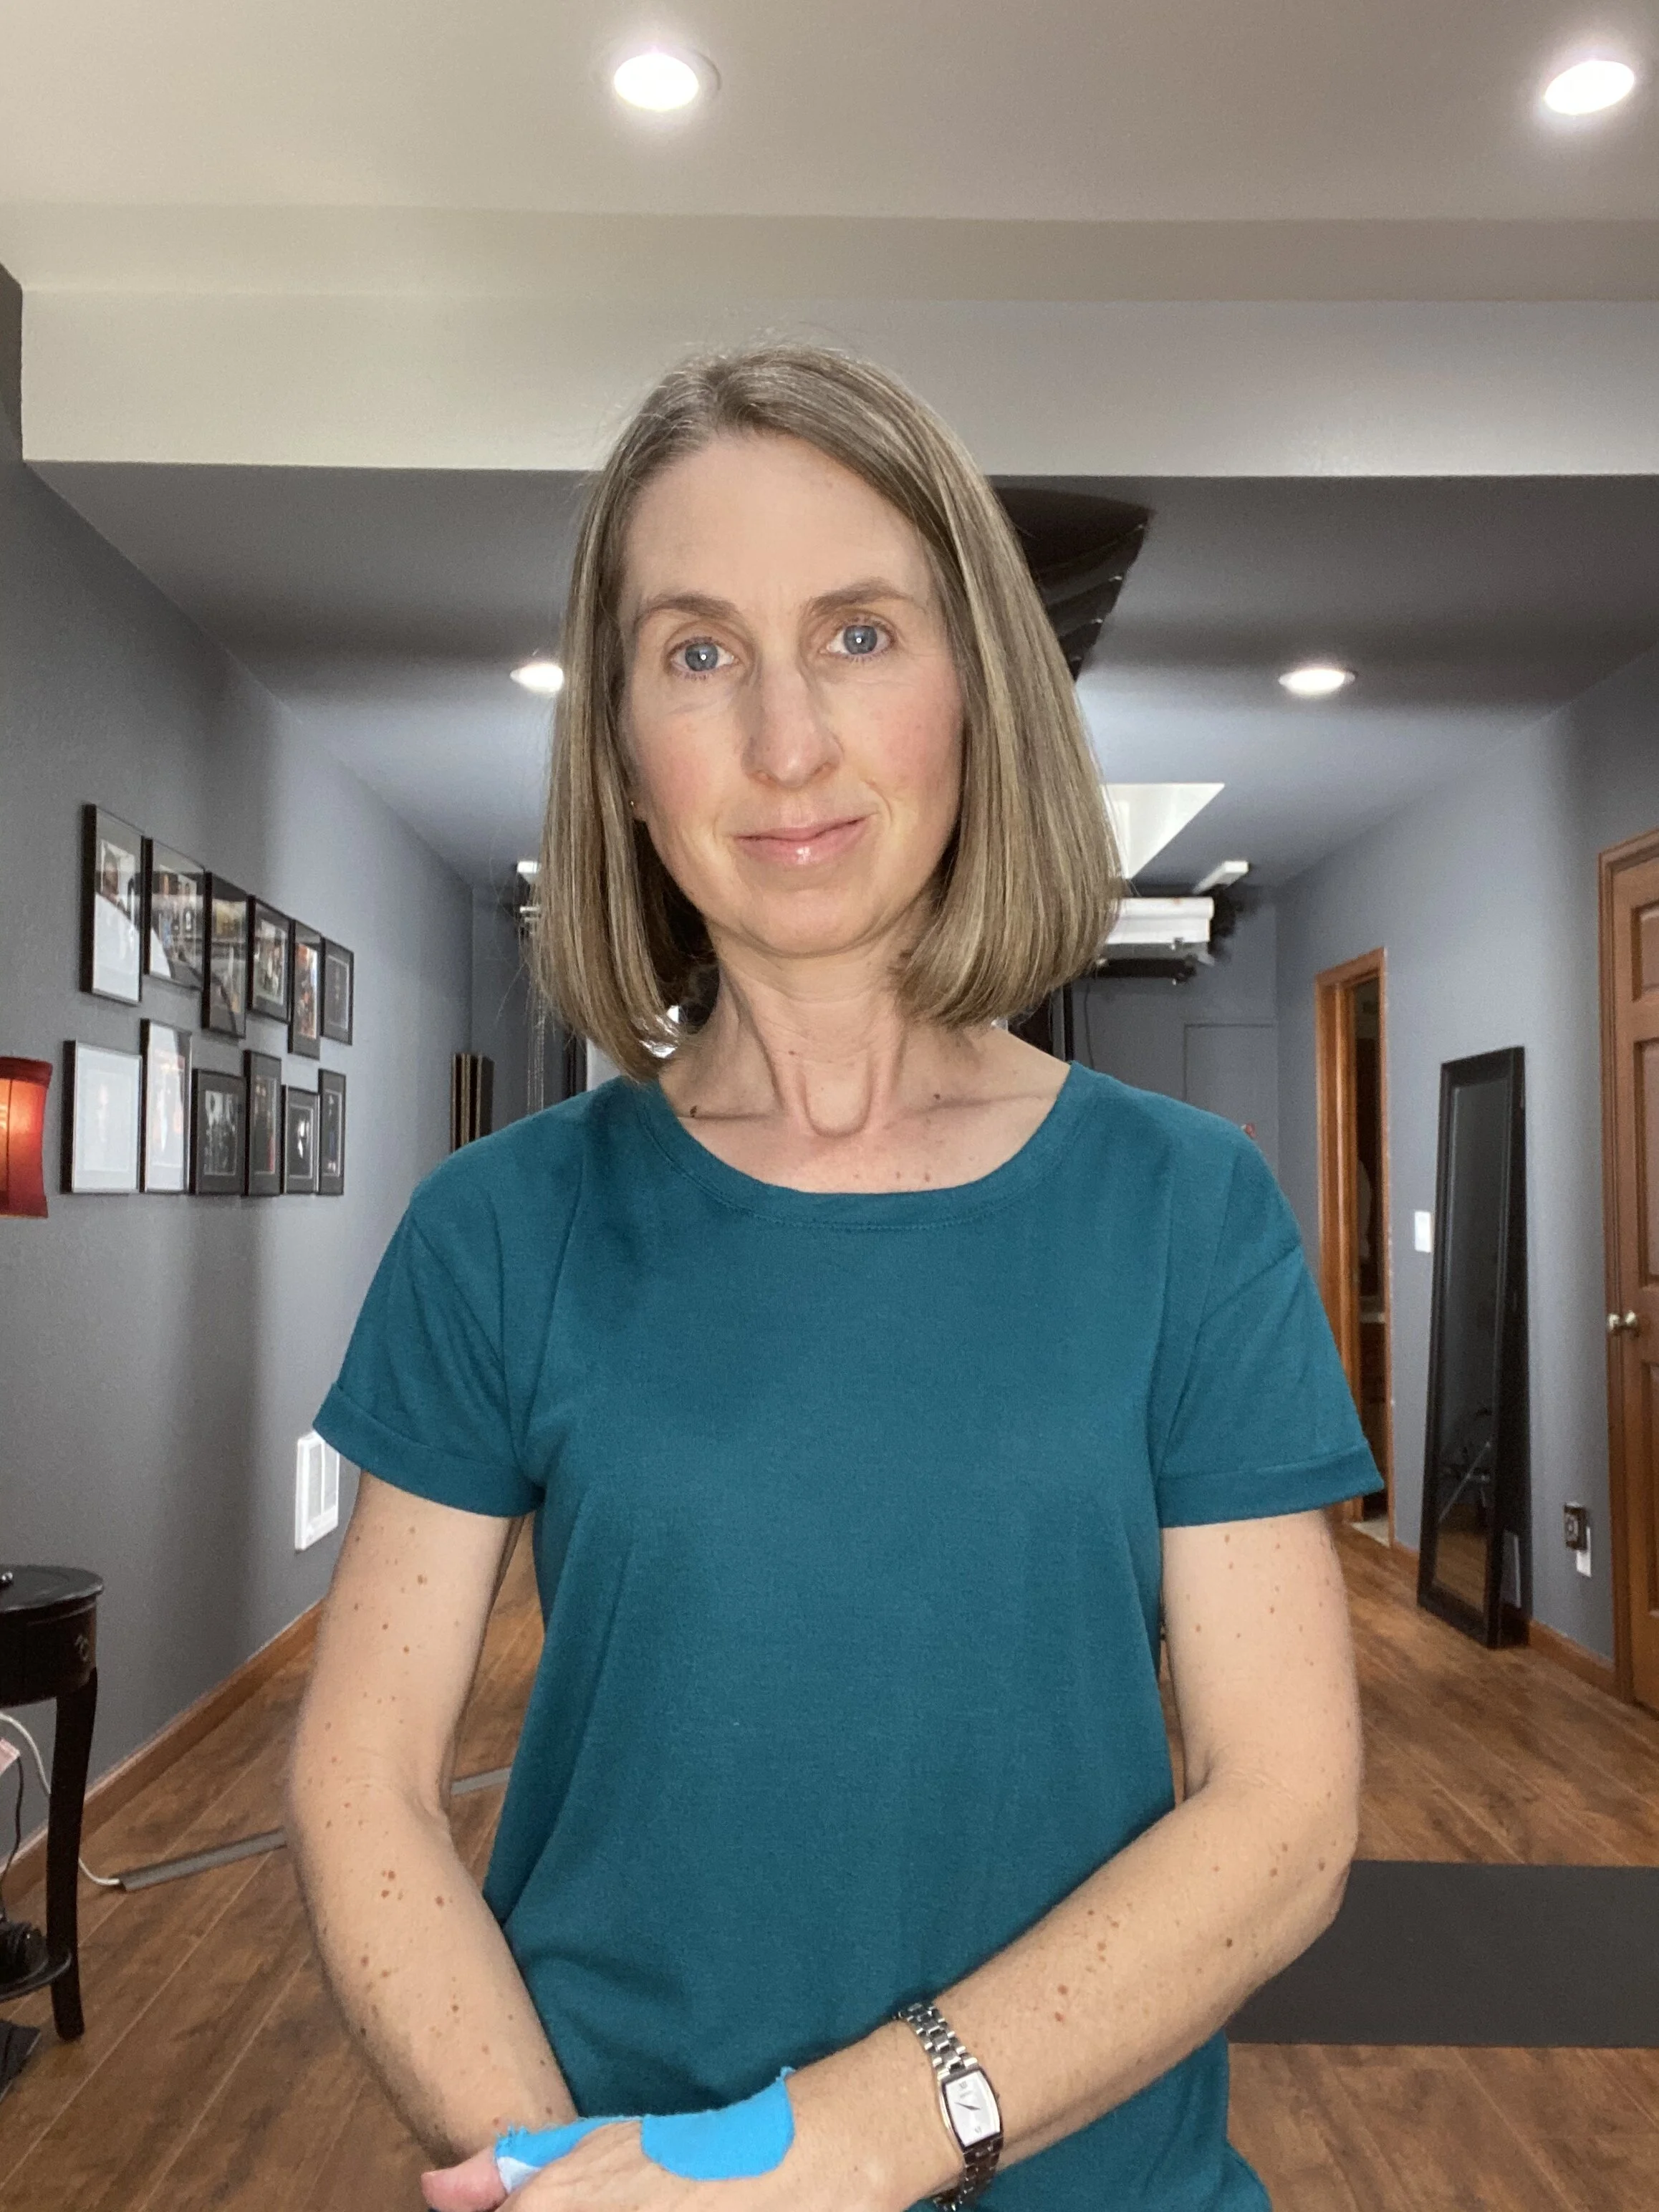
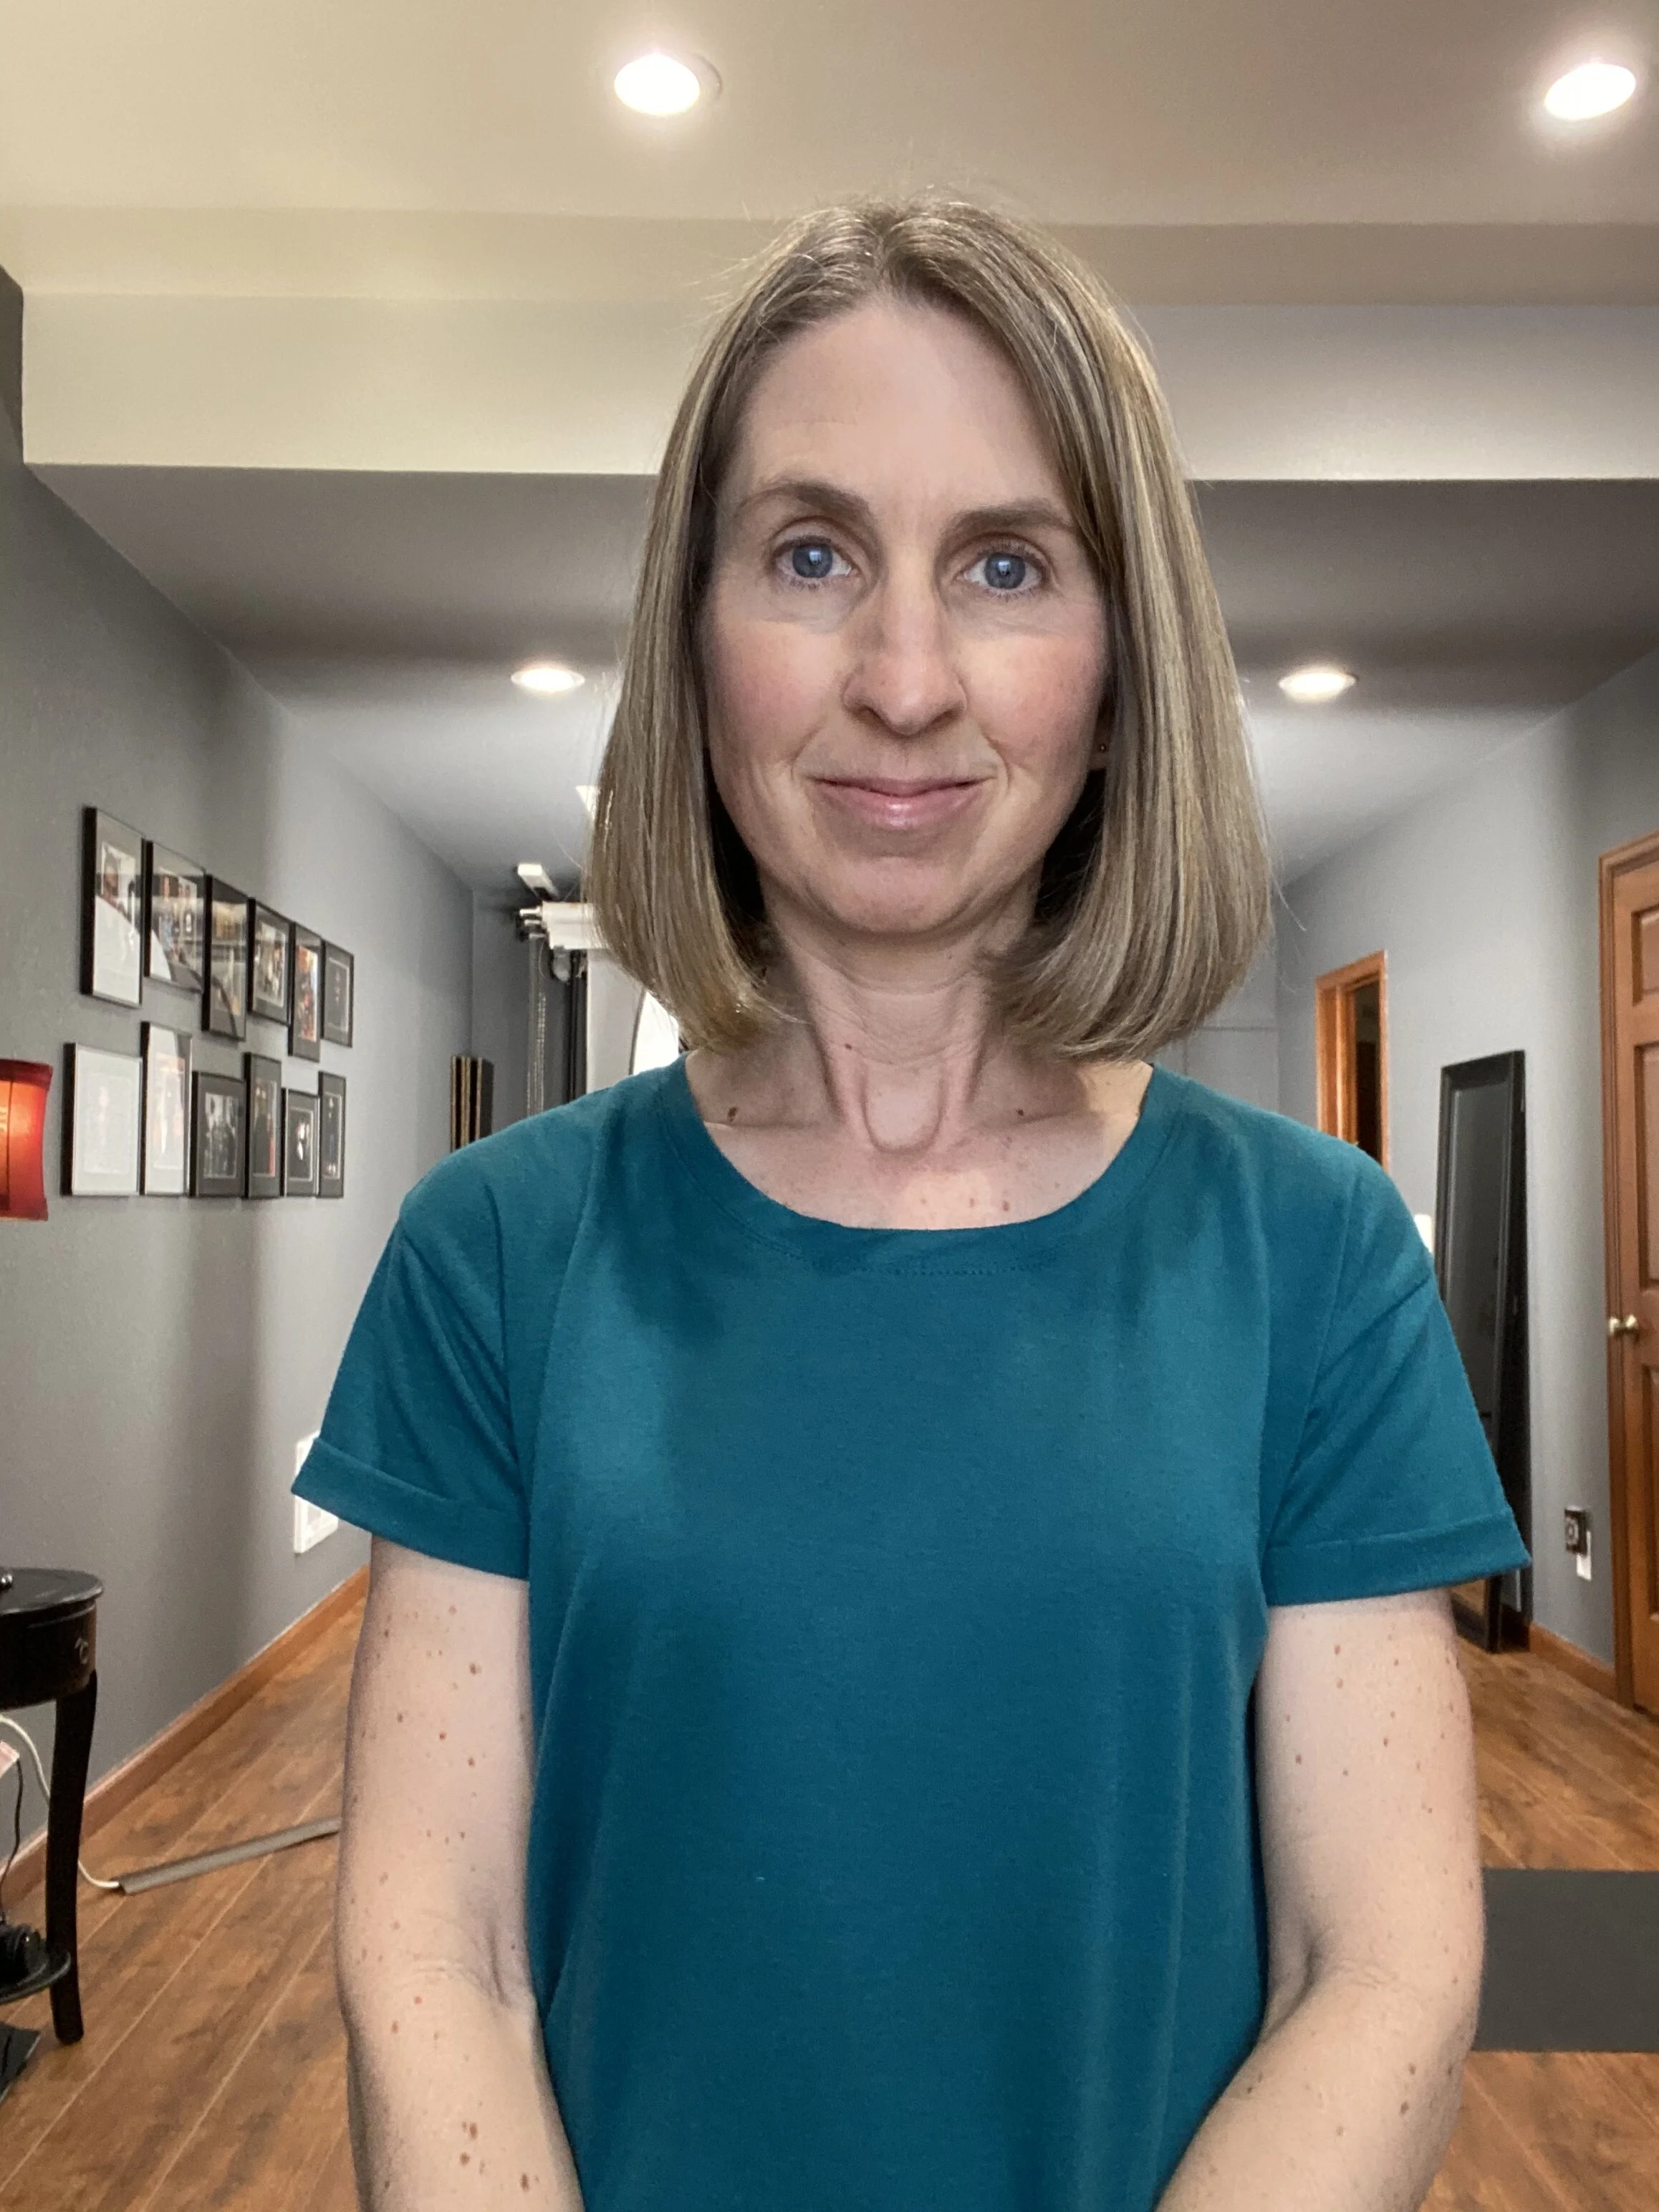
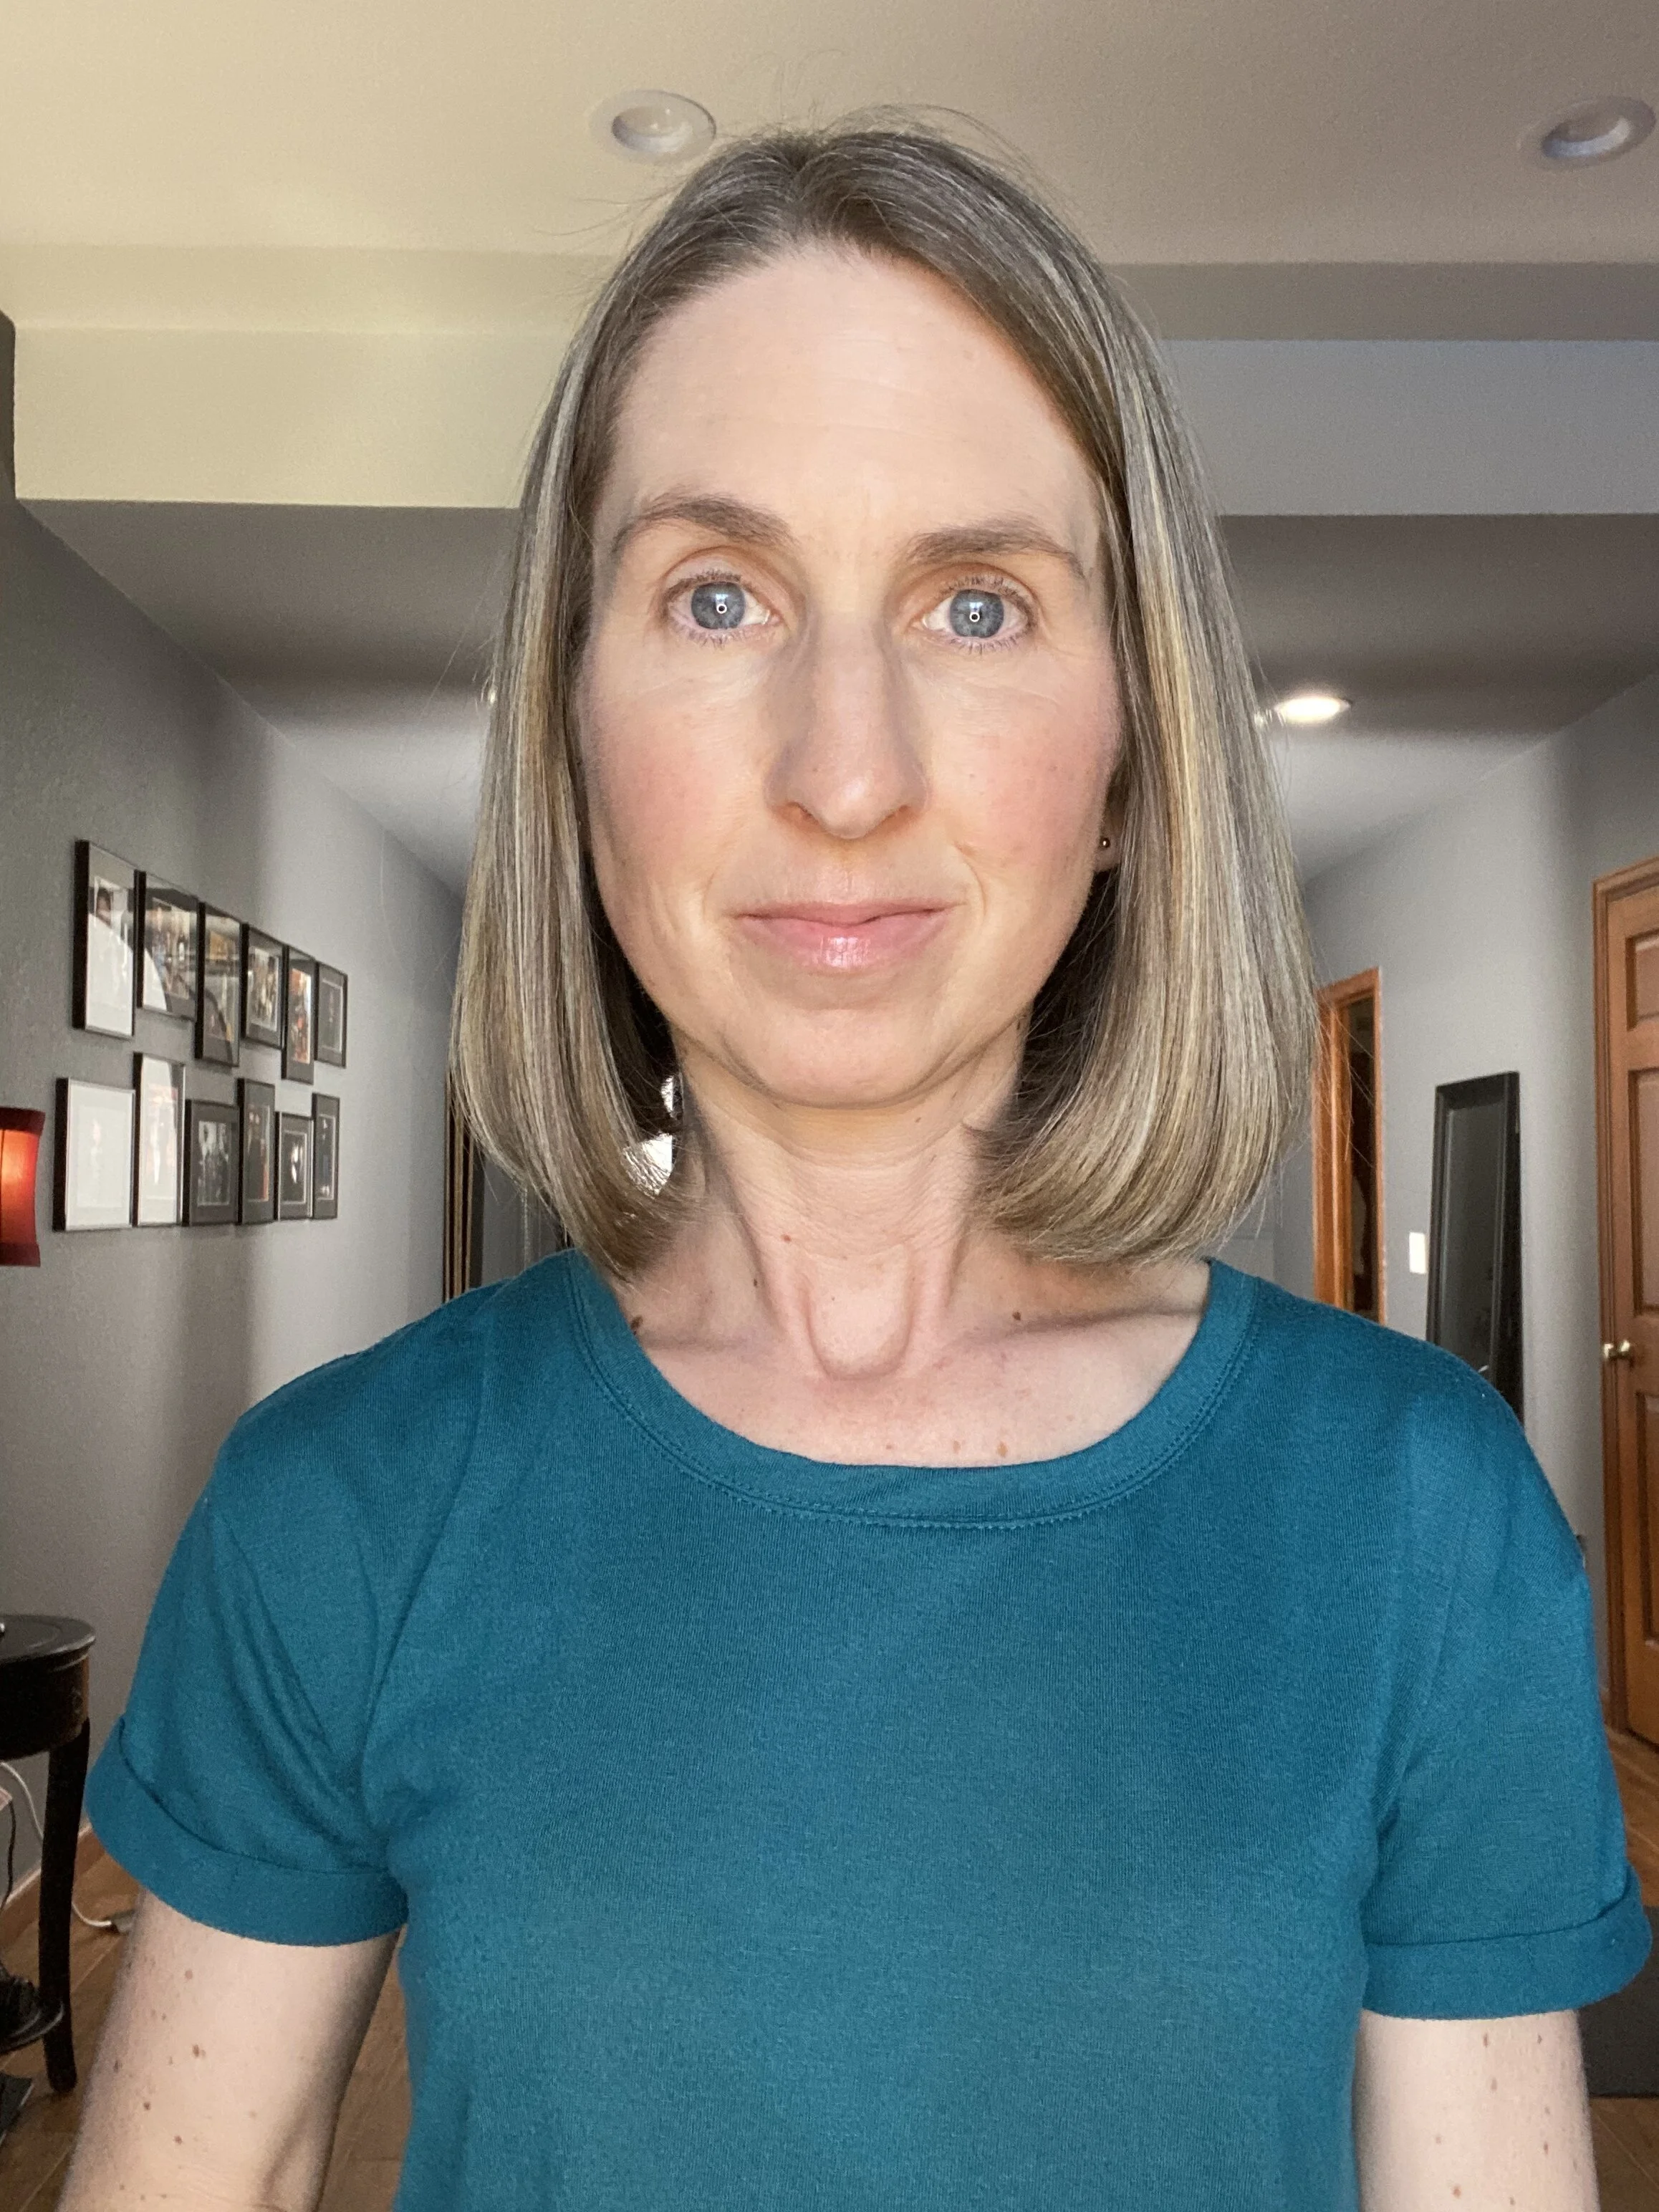
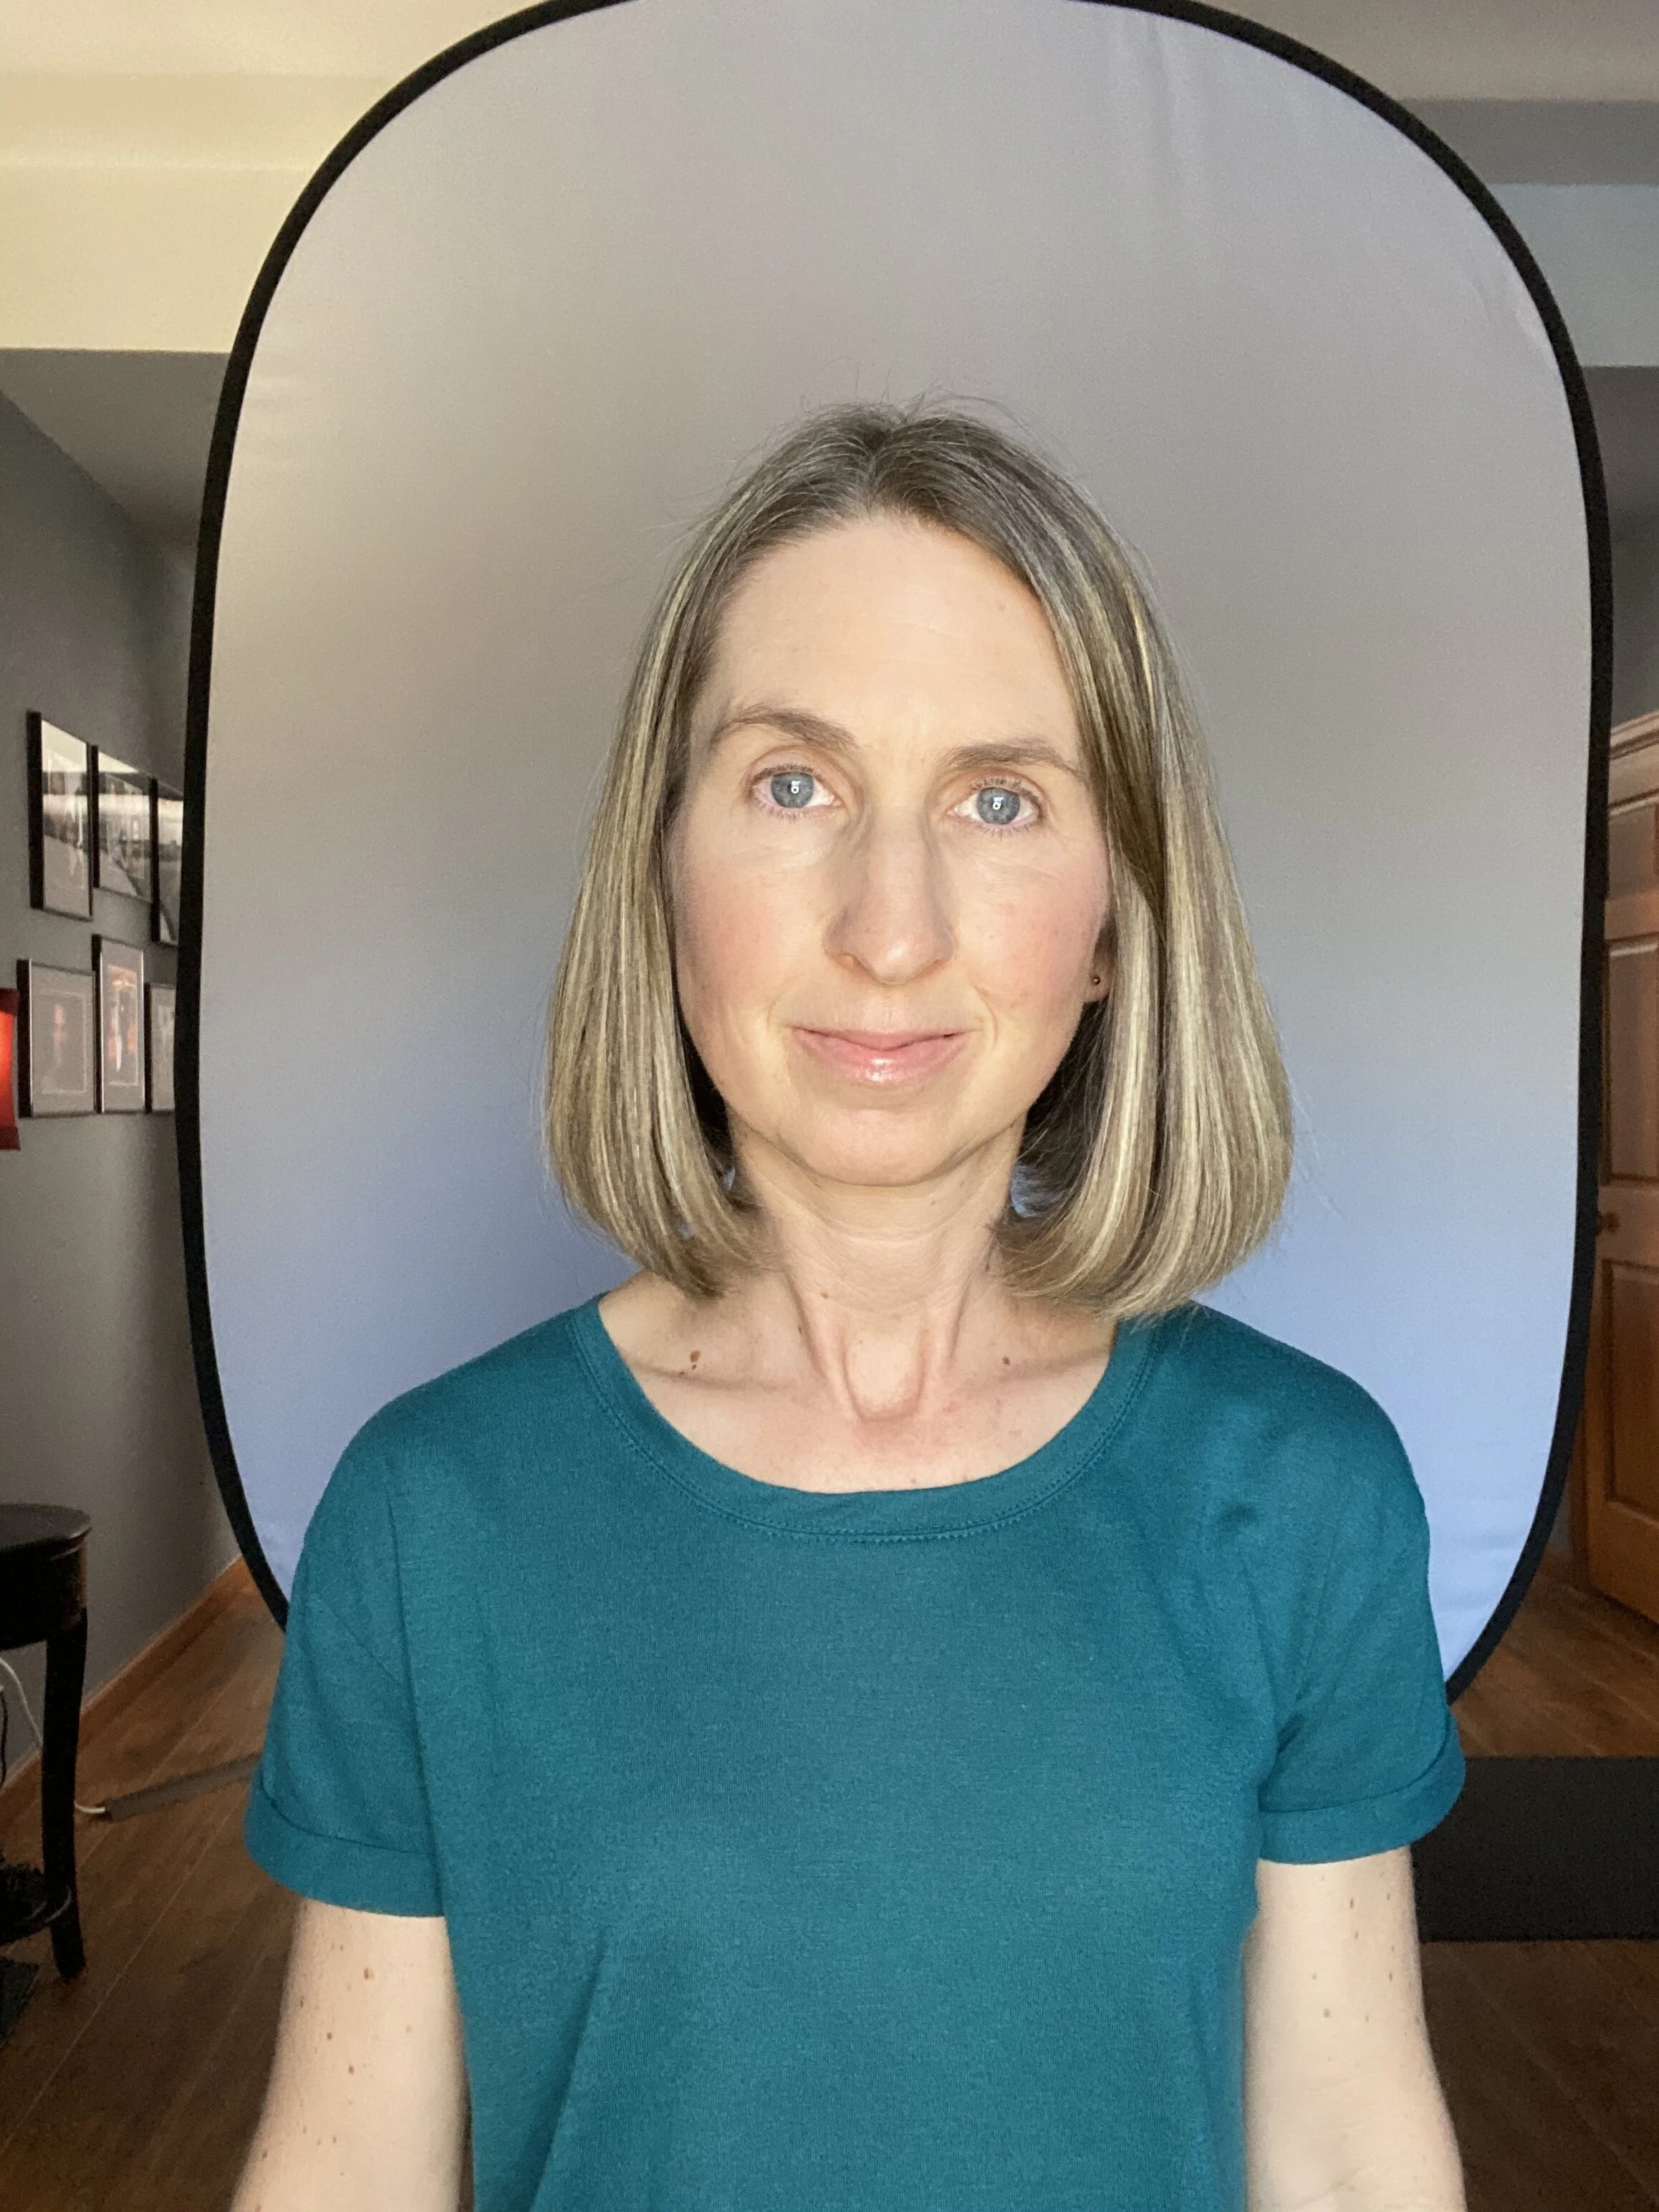
I have created a series of 5 videos and 5 corresponding photo sets. Each video gives guidance and suggestions in setting up for our session. The corresponding sample images are the ones I took while making the video to show you the points I am highlighting.
Please view the videos and photos. Then, take a look around your environment to determine the best location for the time of day for which your session is booked. Have your location ready for our call utilizing the diffusion scrim and ring light plugged in and ready to go.
Also, please be sure that you follow the below instructions to turn on Live Photos on your iPhone. I will be capturing images throughout our session, and this feature needs to be activated in order to achieve this. Have your phone charged and ready!
I will call you via FaceTime at your appointed session time. My clients have found my session tips to be very helpful, so please read through those suggestions as well.
I look forward to virtually meeting and working with you!
“Set up FaceTime for Live Photos:
In the FaceTime app on your Mac, choose FaceTime > Preferences, then click Settings. Select the “Allow Live Photos to be captured during Video calls” checkbox.
When you select this option, you’re also allowing others to take Live Photos of you.”


Additional information regarding phone/camera height.